Air Fryer Chicken Breast: Time and Temperature Chart
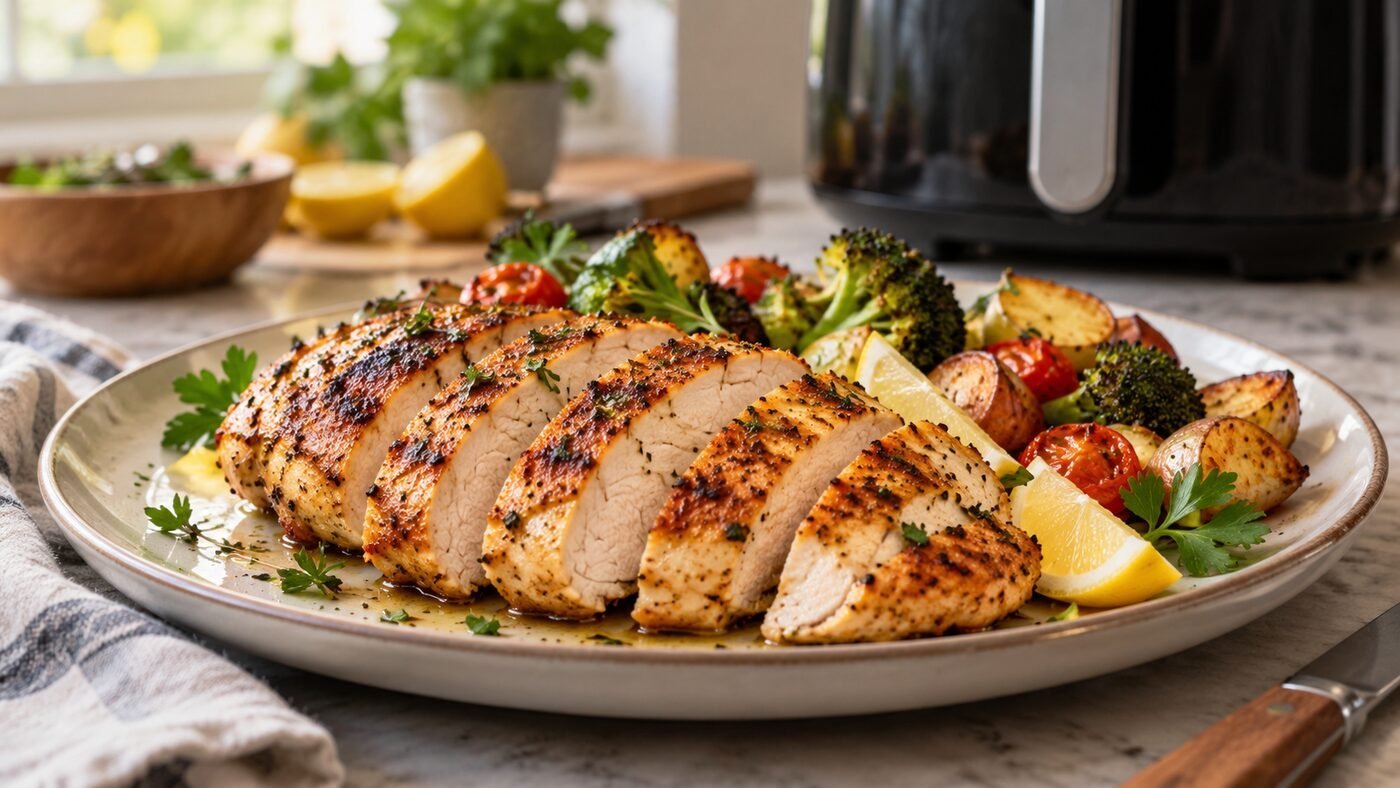
A Simple Method for Juicy Air Fryer Chicken
Quick answer: Air fry boneless, skinless chicken breasts at 380°F, using the chart as a starting range based on size. Check each piece at its thickest point and cook to 165°F, then rest for 5 minutes. Air fryer models and chicken thickness vary, so use an instant-read thermometer to confirm doneness.
Chicken breast can dry out when its thick and thin ends cook for the same length of time. This guide pairs even-thickness prep with a simple seasoning blend and a time chart, so it is easier to adjust the cook to your air fryer and each piece of chicken. An instant-read thermometer is the useful tool here.
The key steps are straightforward: pound the chicken to an even thickness, coat it lightly with oil, and check the thickest part with an instant-read thermometer. For food safety, cook poultry to 165°F before taking it off the heat. Cooking times vary by breast size and air fryer, so use the temperature—not the clock—as the final check.
What you need
- 2 boneless, skinless chicken breasts (about 6–10 oz each)
- 1 tablespoon olive oil
- ¾ teaspoon fine salt
- ½ teaspoon garlic powder
- ½ teaspoon sweet paprika
- ¼ teaspoon black pepper
- Pound to even thickness. Place each breast between parchment and whack the thick end with a rolling pin until everything is roughly ¾ inch. Uneven breasts mean dry ends before thick centers finish.
- Brine (optional). If you brine the chicken, keep it refrigerated, then discard the brine and pat the meat dry before seasoning. Skip this step when you want to keep prep simple.
- Coat with oil, then spices. Oil first helps the seasoning cling and promotes browning; dry spices on dry meat taste dusty.
- Preheat 380°F for 3 minutes.
- Arrange in a single layer with breathing room. Crowding turns convection into steaming.
- Cook per the chart, flipping halfway.
- Rest 5 minutes before slicing. This is where the juice settles instead of spilling onto the board.
- Lemon-herb: add dried oregano + thyme to the base rub; finish with squeezed lemon after resting.
- Smoky BBQ: rub with smoked paprika, brown sugar, cumin; brush your favorite BBQ sauce on during the last two minutes only (sugar can burn if added too early).
- Honey-garlic glaze: warm honey with minced garlic and a splash of soy sauce; glaze after cooking, not during.
- Cajun: swap the paprika for Cajun seasoning; keep the salt light since most blends are salty.
- Sesame-soy: Marinate for 30 minutes in soy sauce, honey, grated garlic, and toasted sesame oil. Finish with sesame seeds and sliced scallions.
That’s the base rub. It is deliberately simple because the air fryer’s job is texture; the variations section handles personality.
Time & temperature chart
| Breast size | Temperature | Time | Flip? |
|---|---|---|---|
| Small — ~6 oz | 380°F | 9–10 min | Yes, halfway |
| Medium — ~8 oz | 380°F | 10–12 min | Yes, halfway |
| Large — ~10 oz | 380°F | 12–14 min | Yes, halfway |
Preheat the air fryer for 3 minutes. Cooking times are estimates because chicken size and air fryer models vary. Check the thickest part with an instant-read thermometer and cook all poultry to 165°F before removing it from the heat. Our meat internal temperature chart offers more guidance, and the USDA safe temperature chart is the source for this recommendation.
How to Use the Time Chart
The times in the chart are starting estimates, not a guarantee. Air fryer baskets differ in size and heating pattern, and breast thickness varies even when two pieces weigh about the same. If you know the weight, use it to choose a starting range; then check each piece separately rather than assuming they finish together. After cooking, note which range worked for your air fryer and usual breast size.
Begin checking near the lower end of the range. Insert an instant-read thermometer into the thickest part of each breast, avoiding the basket and any bone. If a piece has not reached 165°F, return it to the fryer for a short interval and check again. USDA FSIS recommends cooking poultry to 165°F before removing it from the heat.
Space the breasts in one layer so hot air can circulate around them. If they touch or overlap, cook in batches; crowding can slow browning and make timing less predictable. Smaller pieces may finish first, so remove each one only after its own temperature check.
After removing the chicken, let it rest on a clean plate for about 5 minutes for easier slicing. Use a clean plate and utensils for cooked chicken, and wash the thermometer probe after it touches raw poultry. This helps keep raw juices away from the cooked meat. For a lemon-and-herb version, see our Air-Fryer Lemon-Herb Chicken Breast.
Step-by-step method
Why pounding matters more than any seasoning
Chicken breasts are often thicker at one end, so the thinner area may cook faster. Gently pound the thick end to make the piece a more even thickness; this can help it cook more evenly. Shape alone does not determine doneness, so check the thickest part with a thermometer and cook to 165°F.
Five flavor variations
Storing, freezing and reheating without drying
Refrigerate or freeze cooked chicken within 2 hours (within 1 hour when the room is above 90°F). For faster cooling, divide it into shallow containers; slice only what you plan to eat soon. Store leftovers in the refrigerator for 3–4 days or freeze for 3–4 months. Thaw frozen portions in the refrigerator, cold water, or microwave. See the USDA leftover safety guide for more details.
Reheat leftovers until they reach 165°F. In an air fryer, warm at 350°F and check the center with a thermometer; timing depends on the portion size and appliance. In the microwave, cover the chicken and turn or stir it partway through, then check the temperature in more than one spot.
What to serve alongside
Anything that likes juice: garlic mashed potatoes, herbed couscous, a chopped salad with vinaigrette, or warm pita with toum-style garlic sauce. For meal prep, pair with roasted vegetables and a grain — our 90-minute Sunday meal prep system shows how this recipe slots into a week of lunches.
Troubleshooting at a glance
| Symptom | Likely cause | Fix |
|---|---|---|
| Rubbery, squeaky texture | Overcooked past 170°F | Cook to 165°F at the thickest part; rest 5 min |
| Pale exterior, no browning | Basket overcrowded or no oil | Single layer + light oil coat |
| Burnt spices, raw center | Sugary rub applied early | Season simple; glaze last 2 min |
| Stuck to the basket | Skipped preheat or oil | Preheat 3 min; oil the meat not just basket |
| Dry ends, raw middle | Uneven thickness | Pound to uniform ¾ inch first |
Keep this troubleshooting table alongside the time chart for quick reference while cooking.
Scaling for a crowd
The air fryer rewards batches. Cooking four breasts at once means two baskets or two rounds — and that is fine, because rounds hold heat beautifully: finish batch one, rest it under foil, and it is still warm when batch two lands. Doubling the rub keeps in a jar for weeks, so the second round takes thirty seconds of prep. What you should never do is pile breasts into one layer “to save time” — steamed edges and raw centers cost more time than any second batch.
Frequently asked questions
Can I cook chicken breast from frozen?
Yes, with trade-offs. Cook at 360°F, adding about 50% more time (14–18 minutes for a medium breast), skip the brine, and season lightly mid-cook once the surface thaws enough to hold spice. Seasoning won’t penetrate frozen meat, so plan a sauce.
Why did mine turn out rubbery?
One of three things: no oil coat, uneven thickness, or overshooting well past 165°F. Rubberiness is overcooking made visible — the proteins squeeze out their water. The chart plus a thermometer removes all three causes.
Do I really need to preheat?
Three minutes matters more than it sounds. A preheated basket starts browning immediately and prevents sticking; skipping it adds minutes and dries the surface before the center finishes.
Oil or no oil?
A light coat of oil helps the seasoning stick and can support browning. Use enough to lightly coat the chicken; if you prefer to cook without added oil, expect the surface to brown differently.
Do I need to flip if my air fryer has a stir function?
Yes — stirring functions circulate air but don’t lift the meat off the basket, so the underside still cooks against hot metal. A single flip with tongs at the chart’s halfway point gives you even browning on both faces and lets you glance at progress without losing much heat.
What internal temperature is safe for stuffed chicken breast?
If the filling goes inside the meat, the stuffing must also reach 165°F — it spent hours insulated by raw poultry. Insert the probe into the center of the stuffing, not just the breast wall, and expect total cooking time to run three to five minutes longer than the chart.
Serving suggestions
Serve the chicken with mashed potatoes and green beans, warm pita and garlic sauce, or a chopped salad with lemon vinaigrette. For a family-style meal, fan the slices over rice and add a cucumber-yogurt sauce. Refrigerate leftovers within two hours and follow the storage guidance above.
Method summary: Pound to even thickness → season → preheat the air fryer → cook by size, flipping halfway → check the thickest part for 165°F → rest for 5 minutes. Cooking times vary by air fryer and breast size.
This article was prepared with AI assistance. Use an instant-read thermometer to confirm the chicken reaches 165°F.